Multi Projector Setup: Checklist from Throw Math to Show
Key takeaways
- Count projectors from screen width, throw ratio, and target pixel density before pricing any hardware.
- Budget 15-25% edge blend overlap in your throw math from the start, sized in pixels rather than screen percentage.
- Use one media-server output per projector for any warped or blended show, and genlock everything for camera or dome work.
- Software warping replaces keystone correction on multi-projector arrays, especially on curved and dome surfaces.
- Simulate the full array in 3D before load-in to catch coverage shortfalls and throw-ratio misses on your desk, not on site.
A multi projector setup succeeds or fails before load-in: get the projector count, throw distances, overlap percentages, and signal distribution right on paper, and alignment on site takes hours instead of days. This checklist walks that sequence from screen measurements to validated warp and blend, so your media server receives a projection array you have already proven in simulation.
How many projectors do you actually need for your screen size and throw distance?
Start with the screen, not the projector. Screen width divided by throw ratio gives you the throw distance range for one unit, and required pixel density (pixels per metre on the surface) tells you how many projectors you need to hit your target resolution. A 12 m wide wall at 60+ px/m wants more than one 1080p box, so plan the array before you price anything.
Throw ratio and lens shift set your positions first
Throw ratio is the range printed on the lens spec, and lens shift determines how far off-axis you can mount without keystone. Check both against the manufacturer's numbers rather than memory: Epson's throw distance calculator documentation lets you enter screen size and model to get mounting distances and shift limits. If your rigging position falls outside that range, you need a different lens, not a workaround.
Coverage math: width per projector vs overlap budget
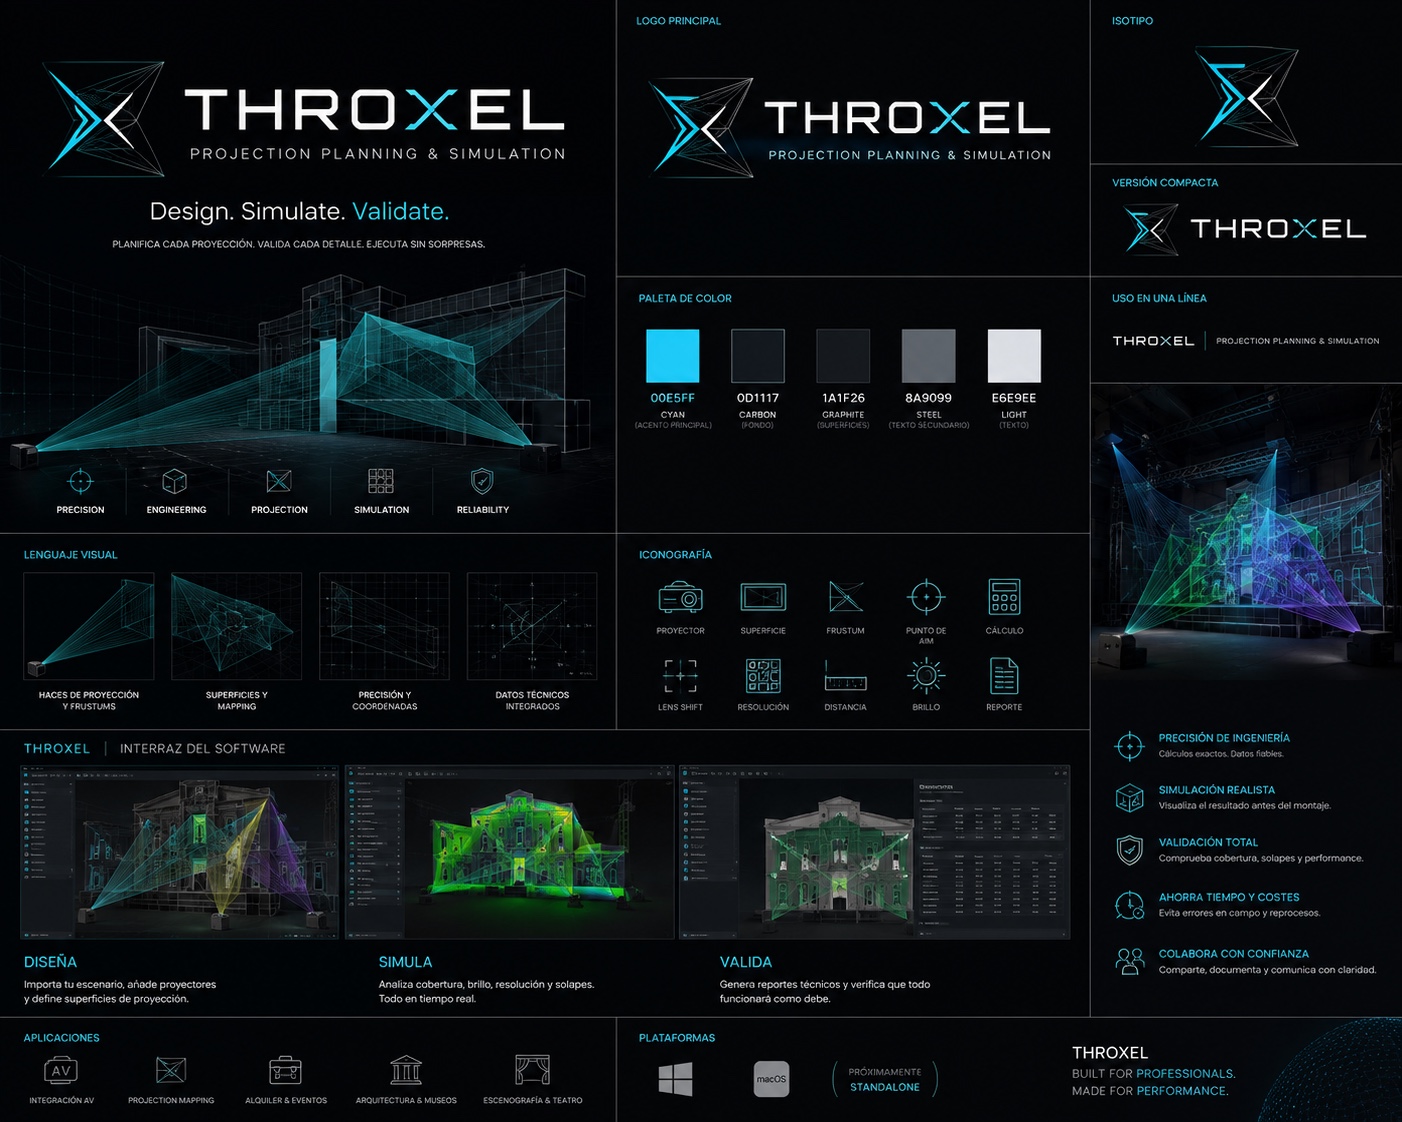
Divide usable width by projector count, then subtract your blend overlap from each edge. Three projectors on a 12 m surface with 10% overlap means each covers roughly 4.4 m, not 4 m. Model this in 3D before committing: THROXEL projects your geometry and shows coverage and overlap per unit, so you catch a shortfall on your desk instead of at load-in. We break down the workflow further on our blog.
What cabling, mounting, and cooling considerations apply before you buy?
Cable length limits and when you need fiber or extenders
Measure every run before you order hardware. HDMI over copper is reliable to roughly 10-15 m; beyond that, use active optical HDMI or an HDMI-over-IP extender, and budget a spare line for the run that fails on site. For a projector array spread across a venue, fiber or 10G AV-over-IP keeps every projector on one switched feed instead of daisy-chained extenders.
Mounting, rigging, and service access
Check rigging points and load ratings against each projector's weight plus bracket, and confirm you can reach the lens and lamp compartment from a ladder or lift, not a harness. Heat load matters: a 10 kW projector dumps most of that into the room, so talk to the venue about HVAC before showtime. Model throw distances and mounting positions in THROXEL first, so the rigging plan and lens orders match reality before load-in.
How do you distribute one source signal to multiple projectors without lag or sync drift?
The safest default for a multi projector setup is one media-server output per projector. It avoids splitter latency questions, gives each projector its own calibration path, and matches how Disguise, PIXERA, and Resolume expect to receive your pre-warp, pre-blend outputs. Splitting one source into clones only works when every projector shows identical content.
Splitter, DA, or per-output: which topology when
| Topology | Use when | Watch out for |
|---|---|---|
| HDMI/DisplayPort splitter | All projectors show the same clone | No per-output warp; cable-length limits |
| Distribution amplifier | One source, long runs, multiple sinks | Cost scales with outputs; still clone-only |
| Daisy-chain (DisplayPort MST) | Short runs, identical content | Latency and handshaking quirks across the chain |
| One output per projector | Any warped, blended, or layered show | Needs enough server outputs or a matrix |
Cable length is the practical constraint: passive HDMI is generally reliable to around 15 m before active cables or extenders enter the picture, and DisplayPort has its own limits per the VESA DisplayPort specification. Plan extenders and fiber into the budget, not as a load-in surprise.
Genlock and frame sync basics
Without sync, projectors free-run and you see tearing or flicker in blend zones, especially on camera. Genlock the media server to a house reference and enable projector frame sync (via daisy-chained sync cards or the projector's sync input) so every unit advances on the same vertical interval. For playback-only shows, matching refresh rates is usually enough; for camera-heavy or dome work, lock everything.
Check your planned output topology before showtime: THROXEL models the projector array and outputs so you can validate coverage and blend zones on site before load-in.
What is edge blending and how do you set overlap and blend zones correctly?
Edge blending is the process of overlapping two adjacent projectors and fading each one's brightness across the shared zone so the array reads as one image. Without it, you get a bright band where the projectors stack.
How much overlap to budget
Plan 15–25% overlap as a working range for most flat and curved screens: a 10-projector-pixel-wide blend on a 1920-wide output means roughly 290–480 pixels of shared coverage. Tighter overlap saves pixels but demands more precise alignment; wider overlap hides small positional error but softens the blended zone. Budget the overlap in your throw math from the start, because it changes effective pixel density and projector count.
Blend width, gamma, and color matching
Set blend width in pixels, not percentage of screen: the ramp must cover the full overlap or you will see the edge of the blend itself. Match gamma per projector during the ramp, since a linear fade looks darker mid-blend, and white-balance every unit before blending. Warp and blend in software, then validate the result on a 3D model of the actual surface before showtime.
How do you geometrically align and warp multiple projectors onto one surface?
Keystone correction fixes trapezoids per projector, but on any multi-projector setup it breaks down fast: each projector warps independently, overlaps drift, and you have no global picture of the surface. Software warping replaces keystoning with a mesh you edit against the actual geometry, so all projectors resolve to one shared image.
Flat walls vs curved and dome surfaces
A flat wall needs little more than corner pinning plus edge blending. Curved walls and domes are different: the projection plane bends away from the lens axis, so throw distance and lens shift vary across every projector in the array. You model the surface, project a reference grid, and pull the mesh until the grid reads straight from the audience position. Doing this per projector by eye on a dome is where load-ins go sideways.
Handing warps off to Disguise, PIXERA, or Resolume
The mesh is only half the workflow; the media server has to apply it identically across outputs, which means frame-locked outputs. Disguise documents sync requirements for multi-machine setups in its Designer documentation. Export your warp and blend from the planning stage, confirm the server accepts the mesh format, and you arrive on site with alignment already solved.
Which software or hardware controllers handle multi-projector playback and automation?
Three layers do different jobs: playback servers (Disguise, PIXERA, Resolume) render and output your content, hardware controllers and media servers handle signal distribution and sync on site, and planning tools sit upstream of both. A planning tool cannot play your show. A playback server cannot tell you before load-in that your third projector's throw ratio misses the dome by half a metre. Judge planning and simulation tools on the same criteria you would judge any tool: geometry accuracy for flat, curved, and dome surfaces; throw distance, lens shift, and overlap modelling; export to formats your media server accepts; and price that fits a freelancer. VIOSO Experience Designer and Disguise Mapping Matter are direct competitors in this space, and VIOSO ProjectionTools is the longer-established simulation option. THROXEL covers plan projection geometry, 3D simulation, and pre-load-in validation for EUR 29/month or EUR 290/year, machine-bound, with a 7-day trial.
Where THROXEL falls short
THROXEL does not play back content, does not replace your media server, and has no public user reviews yet, so there is no track record to point to. It also does not handle signal distribution or sync hardware. If you need playback and control in one package, Disguise Designer is the adjacent option to evaluate.
What common multi-projector setup mistakes cause visible seams and color mismatch?
Seams, brightness ramps, and color drift
Most visible seams come from overlap math that ignores the projector's actual lens ratio and warp state. If your blend zone is sized from a spreadsheet guess instead of the real throw distance and lens shift, the brightness ramp across the overlap does not cancel, and you get a hot or dark band. Mixing projector models, or even the same model with different lenses, adds color drift: different light engines and optics rarely match in white point out of the box. Correct every array member's settings individually before you touch blending.
Skipping the pre-load-in check
The costliest mistake is arriving on site with untested geometry. Simulate the array before you pack, the way planning tools like VIOSO ProjectionTools handle projection simulation alongside camera-based calibration workflows. THROXEL does the same job for individuals at EUR 29/month: model the surface, project the geometry, and export a validated plan so load-in surprises stay small.
What does a purchase-to-first-show checklist look like?
Before you buy
Fix the surface geometry and screen size first, then count projectors from coverage and throw ratio, not the other way round. Confirm every unit has the same lens family, and check lens shift range against your mounting positions. Order spare lamps or units, and verify output resolutions match your media server's canvas.
Before load-in
Build the full projector array in THROXEL, simulate throw distance, overlap, and blend zones in 3D, and export the warp and blend setup for your media server. Cross-check signal path: one output per projector, distribution chosen for sync, cable lengths within spec. Confirm rigging points, power circuits, and cooling on site drawings.
Before showtime
Align geometry on the physical surface, tune edge blending overlap until the seam disappears, then run a colour-matching pass across the array. Play your actual show file end to end, watch for dropped frames, and log final lens and warp settings so teardown and rebuild are repeatable.
FAQ
Can I use different projector models in one multi projector setup?
You can, but expect extra work. Different light engines and optics rarely match in white point out of the box, so color drift shows up in blend zones. If you must mix, keep the same lens family, correct each unit's settings individually before blending, and budget time for a full color-matching pass across the array.
How much projector overlap do I need for a seamless blend?
Plan 15-25% overlap as a working range for most flat and curved screens. Tighter overlap saves pixels but demands more precise alignment; wider overlap hides small positional error but softens the blended zone. Budget the overlap in your throw math from the start, because it changes effective pixel density and how many projectors you need.
Do I need a media server or can one laptop run multiple projectors?
A laptop works only if it has enough outputs for one per projector and enough GPU headroom to render the full canvas. For warped, blended, or layered shows, a playback server like Disguise, PIXERA, or Resolume is the safer default: it gives each projector its own pre-warp, pre-blend output and supports frame-locked sync.
How do I calculate blend zone width in pixels?
Work in pixels, not percentage of screen. Take your overlap percentage, apply it to the projector's output width, and subtract the shared pixels from each unit's usable coverage. A 10-projector-pixel-wide blend on a 1920-wide output means roughly 290-480 pixels of shared coverage, and the ramp must cover the full overlap.
Is simulation software worth it for a small two-projector install?
Usually yes, because the failure mode is the same at any scale: a throw ratio that misses your mounting position or an overlap you sized by guesswork. Modelling two projectors in 3D catches a coverage shortfall on your desk instead of at load-in, and exports a warp plan your media server can use directly.